
How to Build Your Own Tool Workbench Out of Pallets: A Step-by-Step Guide
Robert Magallanes
Are you looking for a budget-friendly and sustainable way to create a tool workbench? Building your own workbench out of pallets is an easy and practical DIY project that can provide you with a sturdy workspace for your home improvement, woodworking, or crafting projects. In this guide, we’ll walk you through the steps to build a durable, functional tool workbench from recycled pallets.

Why Build a Workbench from Pallets?
Pallets are versatile, affordable, and easy to find. Repurposing pallets for your workbench means you’re not only saving money but also recycling materials to reduce waste. Plus, a pallet workbench is customizable to your needs, whether you require extra storage or specific workspace dimensions.
Materials Needed:
4 to 6 standard pallets (depending on the desired size of the workbench)
Power drill with screws
Saw (for trimming pallets if needed)
Hammer and nails
Measuring tape
Sandpaper or electric sander
Wood glue (optional for added strength)
Level
Paint or stain (optional for finishing)
Heavy-duty casters (optional for mobility)
Step 1: Gather Your Pallets and Tools
Start by collecting your pallets. You can often find free pallets at warehouses, local stores, or online marketplaces. Make sure the pallets are in good condition without any significant damage.
Step 2: Plan the Design and Dimensions
Decide how big you want your workbench to be. Typically, a workbench height ranges from 32” to 36”, and the length and depth can vary depending on your space. A common workbench size is around 60” long by 24” deep, but feel free to customize it based on your needs.

Step 3: Disassemble the Pallets (If Necessary)
If you plan to use individual slats from the pallets, carefully disassemble them using a crowbar or hammer. Be cautious when removing the nails, as they can be sharp. If you prefer, you can also leave the pallets intact, stacking them to build the frame.
Step 4: Build the Frame
To create the base of your workbench, start by laying down two pallets side by side. These will form the bottom and top sections. Depending on your design, you may need to cut one of the pallets to fit your desired width.
Attach the pallets together using screws and a power drill. Make sure the pallets are level before securing them in place.
Step 5: Add Legs for Support
Once your base is assembled, cut four pallet pieces to create the legs. You can either use entire pallet slats for shorter legs or cut the pallet slats into appropriate lengths for taller legs. Secure the legs to the frame using screws or nails. If you want to add mobility to your workbench, you can install heavy-duty casters on the bottom of the legs.
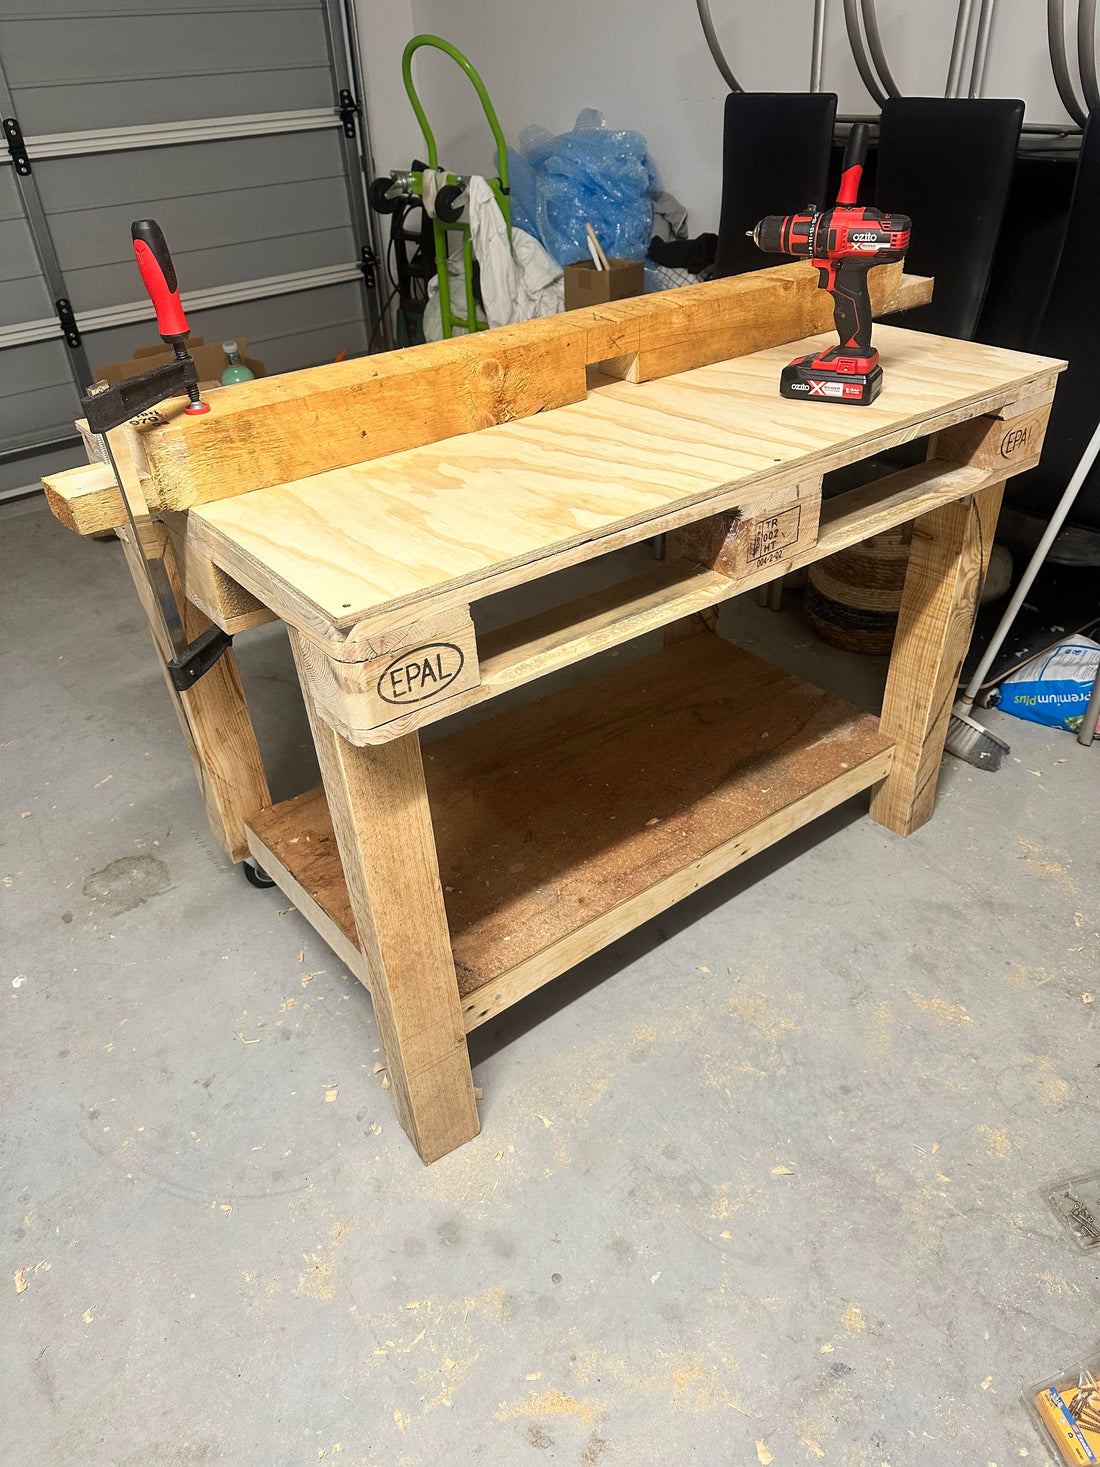
Step 6: Create the Work Surface
If you want a smooth and sturdy work surface, place a full pallet on top of the base. Alternatively, use additional pallet slats to create a custom work surface by spacing them evenly across the top. If you’re going for a flat surface, ensure the slats are cut to the correct size and secure them in place.
Step 7: Sand the Workbench
After assembling the workbench, use sandpaper or an electric sander to smooth out any rough edges. This will prevent splinters and ensure the workbench is safe to use. Sand the surface thoroughly, especially if you plan to use it for precision work.
Step 8: Finish (Optional)
If desired, you can paint or stain the workbench to give it a polished look. A coat of varnish or clear wood finish will help protect the wood from wear and tear, especially if you plan to use it frequently.
Step 9: Organize Your Tools
Now that your pallet workbench is ready, it’s time to organize your tools! Consider adding hooks, shelves, or pegboards on the sides or underneath the work surface to store your tools. This will keep everything within easy reach and make your workbench more functional.
Conclusion
Building a tool workbench out of pallets is a cost-effective and eco-friendly DIY project that will provide you with a durable workspace for all your projects. By following these simple steps, you can create a custom workbench that suits your needs and adds a touch of rustic charm to your garage or workshop. So, gather your pallets and get building today!